 P4A Documentation
Connecting your Anypoint ORG
Register an Anypoint Connected App with P4A so the platform can deploy approved policies on your behalf.
Overview
Before P4A can deploy any policy on your behalf, it needs an Anypoint Connected App to authenticate against. You create the Connected App in Anypoint Platform, then register the resulting client ID and secret in P4A. Once a connection is registered, P4A can publish Exchange assets to the linked organisation without you managing pipelines or packaging policies manually.
For the actual deploy flow once the connection is in place, see Deploying a policy.
Create the Connected App in Anypoint
The MuleSoft side of the setup is documented in Create a Connected App for Developers — that page covers signing in, choosing the right grant type, and assigning scopes. From P4A's perspective the steps are:
-
Follow the MuleSoft guide above and create a Connected App configured for the client_credentials (app credentials) grant type.
-
Assign the required Exchange scopes — these let P4A publish and deploy policies:
- Exchange Contributor
- Exchange Creator
- Exchange Viewer
Scope each to the business group(s) you intend to deploy into.
-
If you want P4A to show more than the root organisation in the business-group picker — so you can deploy into your other business groups — also assign View Environments (the "View Environments in a particular organization" scope), scoped to each business group you intend to deploy into. Without it, P4A can only see your primary organisation, and the other business groups won't appear when you deploy.
-
If you'll add rulesets to API Governance profiles, also assign the API Governance permissions, scoped to the business group that owns the profiles:
- Governance Administrator, to create profiles and add rulesets to them.
- Governance Viewer is enough if you only want P4A to list the existing profiles.
Publishing policies and rulesets doesn't need them. See Publishing a ruleset.
-
Note the client ID and client secret that Anypoint generates.
Register the connection in P4A
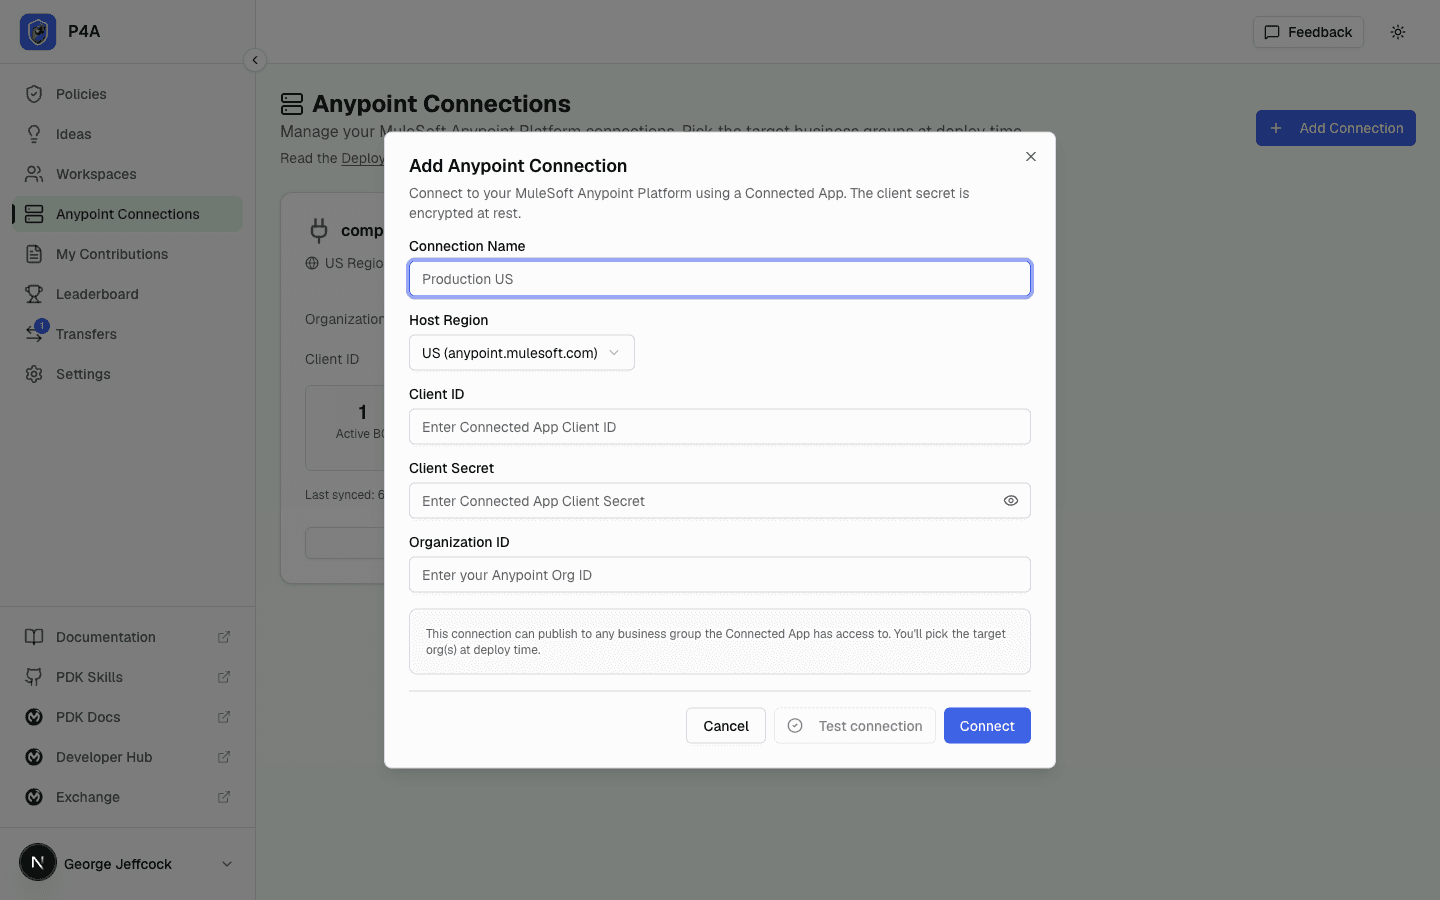
Open /dashboard/connections and click Add connection. Paste in the client ID and secret you just generated, name the connection (for example "MuleSoft Sandbox – EU Frankfurt"), and pick the host region that matches the Anypoint control plane your organisation lives in.
The connection is owned by you. To make it usable by teammates, an Owner or Admin of a shared workspace can later link the connection into that workspace from the workspace's detail page; see Using workspaces for how linking and role permissions work.
The connections list updates on its own: when a connection is added or removed — including changes a teammate makes to a connection shared into a workspace you can see — the list reflects it within a second or two, with no need to reload the page.
Test the connection before saving
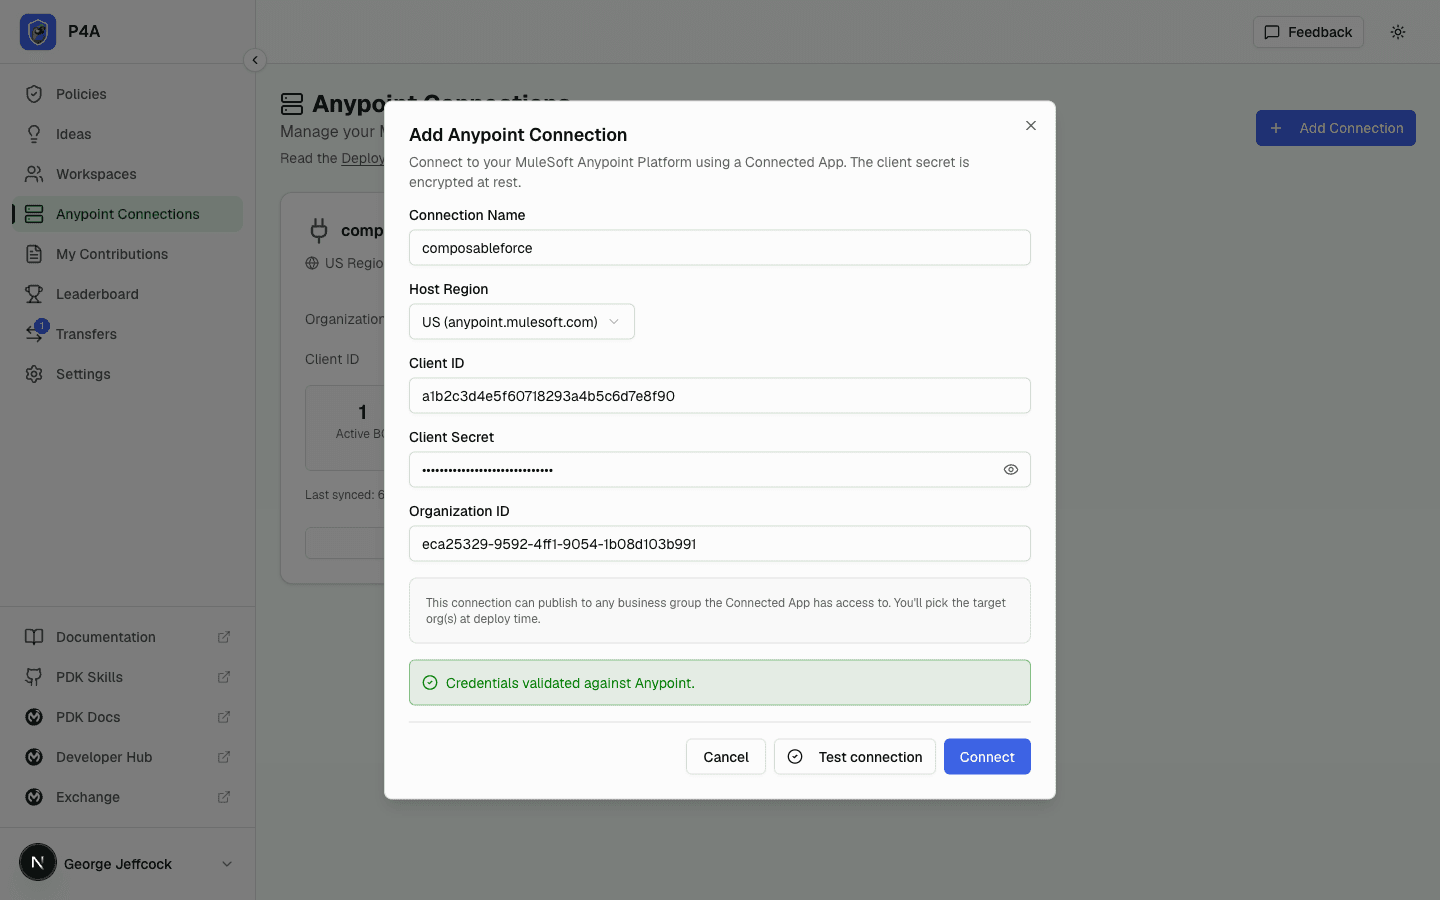
The form has a Test connection button that calls Anypoint with the credentials you've entered and reports back without persisting anything. Behind the scenes it performs a single OAuth client_credentials exchange — proving the client ID, secret, and organisation ID are valid — and nothing more. Use it to catch a mistyped client ID or the wrong host region before the connection is saved.
A successful test shows a green confirmation that the credentials validated against Anypoint.
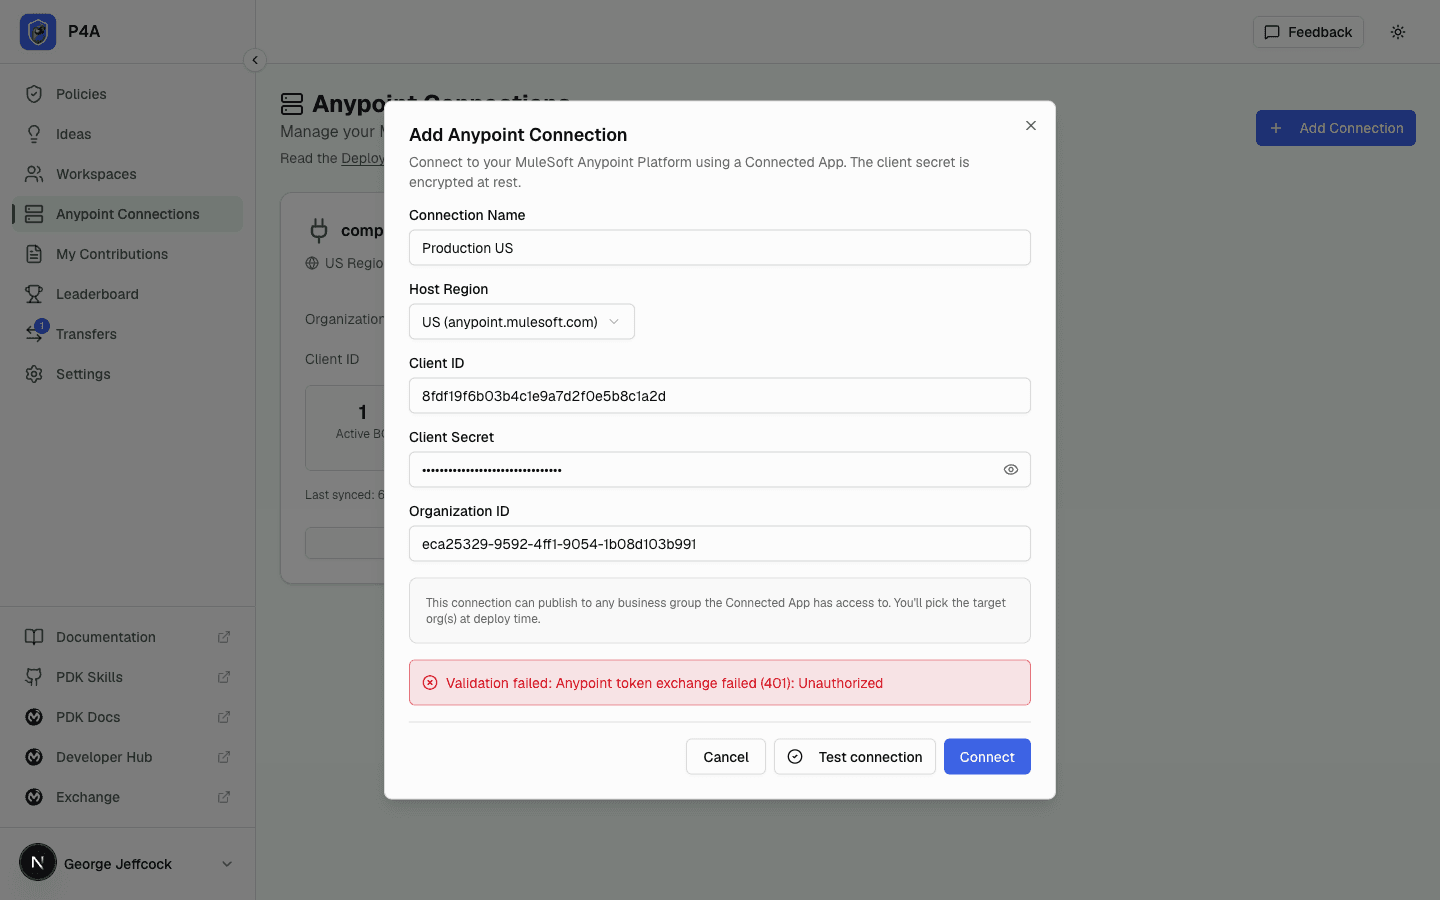
A failed test shows a red banner with the underlying error from Anypoint (typically invalid_client for a wrong client ID/secret, or a 4xx for the wrong host region or organisation ID). Fix the offending field and re-test before saving.
Once the test passes and you save, P4A can deploy approved policies through this connection.
Connection detail page
Once a connection is saved, opening it from /dashboard/connections takes you to its detail page. From there you can:
- See at-a-glance counters for active business groups, active policies, and active deployments through the connection. Business groups and deployments count both policies and rulesets.
- Inspect the Reachable business groups list — the live set Anypoint exposes to this Connected App. The primary org is tagged, and per-group counters show how many active deployments and active policies are running in each.
- Share the connection into a workspace so its members can use it to deploy, without ever seeing the underlying client secret.
- Edit the display name or rotate the secret (see below).
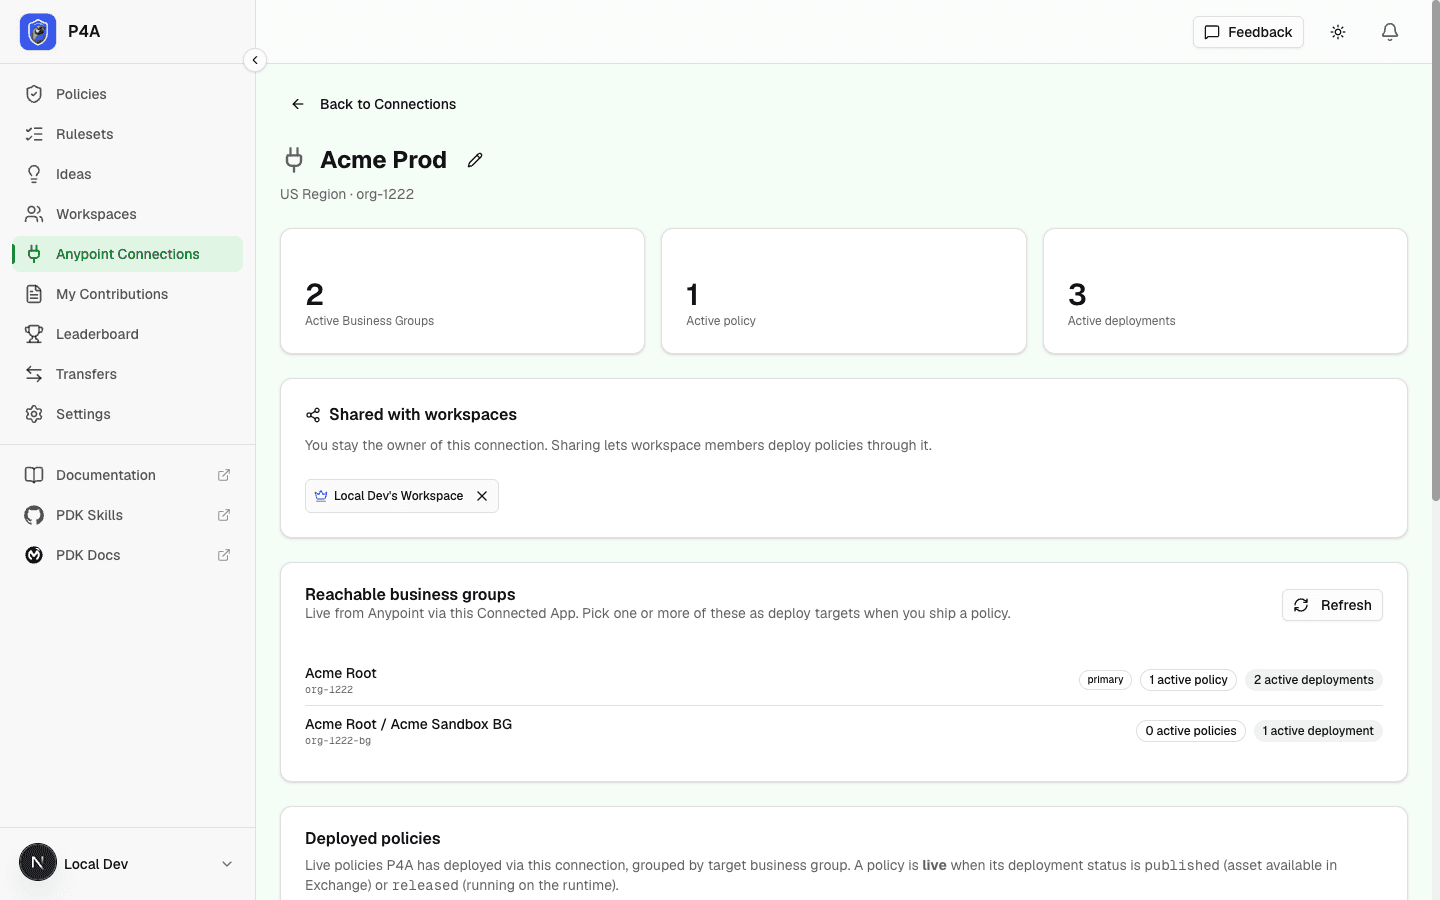
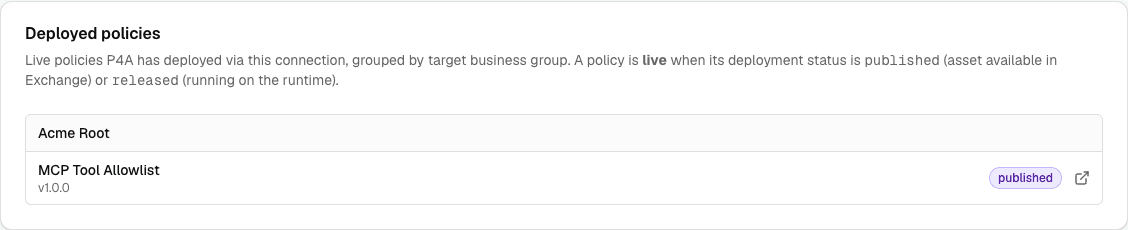
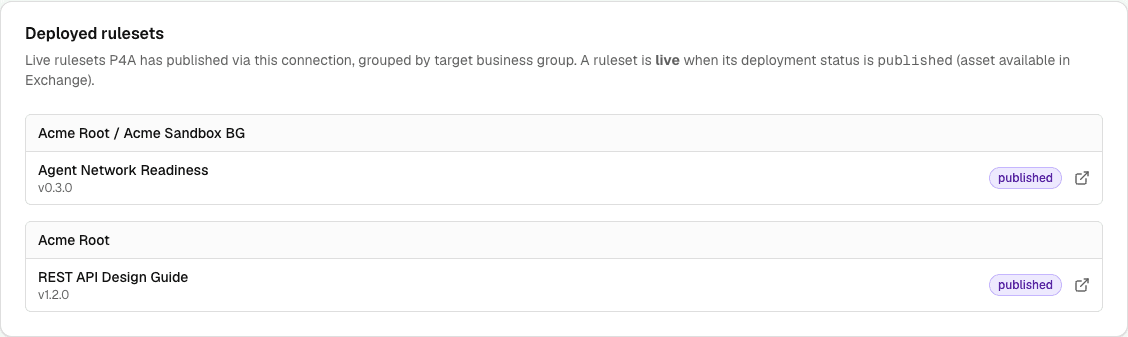
Scroll further on the same page and you'll find the Deployed policies section — a per-business-group breakdown of every policy currently live through this connection, with each one's version and status (published or released). It's the audit-trail counterpart to the at-a-glance counters at the top. Below it, Deployed rulesets lists every ruleset published to Exchange through the connection the same way, with its version. Each section pages on its own. When you open the connection from a workspace, the page shows only the section for the workspace tab you came from: Deployed policies from the Policies tab, Deployed rulesets from the Rulesets tab. Each entry opens the policy or ruleset inside that workspace, and Back to Workspace returns to that tab.
How your secret is stored
Your Connected App secret is stored encrypted at rest in a secure vault. The portal never returns the plaintext secret to your browser after you save it. When you view your connection's settings, the full client ID is shown to the connection owner, while non-owners viewing a shared connection see only the first few characters masked (for example, "abcd…") to confirm which Connected App is registered without exposing the full credential.
If you need to rotate your Connected App credentials, you can replace the secret in P4A's connections settings. You cannot retrieve the original plaintext once it has been saved.